


Here’s something new! After a long break from 3D, I decided to make this little film. I had a lot of fun, as it was essentially improv in 3D. Hope you enjoy!
Morris & His Springtime Bumblefriends.
(Un)fortunately I’ve been so busy, I’ve not touched my 3D since the Fall—so I whipped this out for a fun resfresher.
Something more cutsie & preschool. Let me know what you think!
My Very First 3D Animation in the History of the Entire Universe!!!
Quick Blender Exercise: X-Wing
I opened up Blender & wasn’t sure what to make.
Just a little over an hour later, I had this simple, chubby lil’ X-Wing Fighter.
Sidenote: I’m still working away on my Banana Cabana Lobby expansion & it’s coming along splendidly. STAY TUNED!
THEN…the next day happened
I had no plans to continue fleshing this out but I realized my chubby, lil’ X-Wing needed a friend to play with.
No surfacing or intricate details—just simple fun.
Time for some renos…
I wasn’t thinking anywhere nearly big or long-term enough when I started Almost Naked Animals: 3D-ified…
Time to do some renovations and expand the scale of the Banana Cabana lobby!
RENOS IN PROGRESS…
I’m still working away on this in my free time! Keep checking back for more.
Almost Naked Animals 3D-ified: Octo
Almost Naked Animals 3D-ified: Bunny
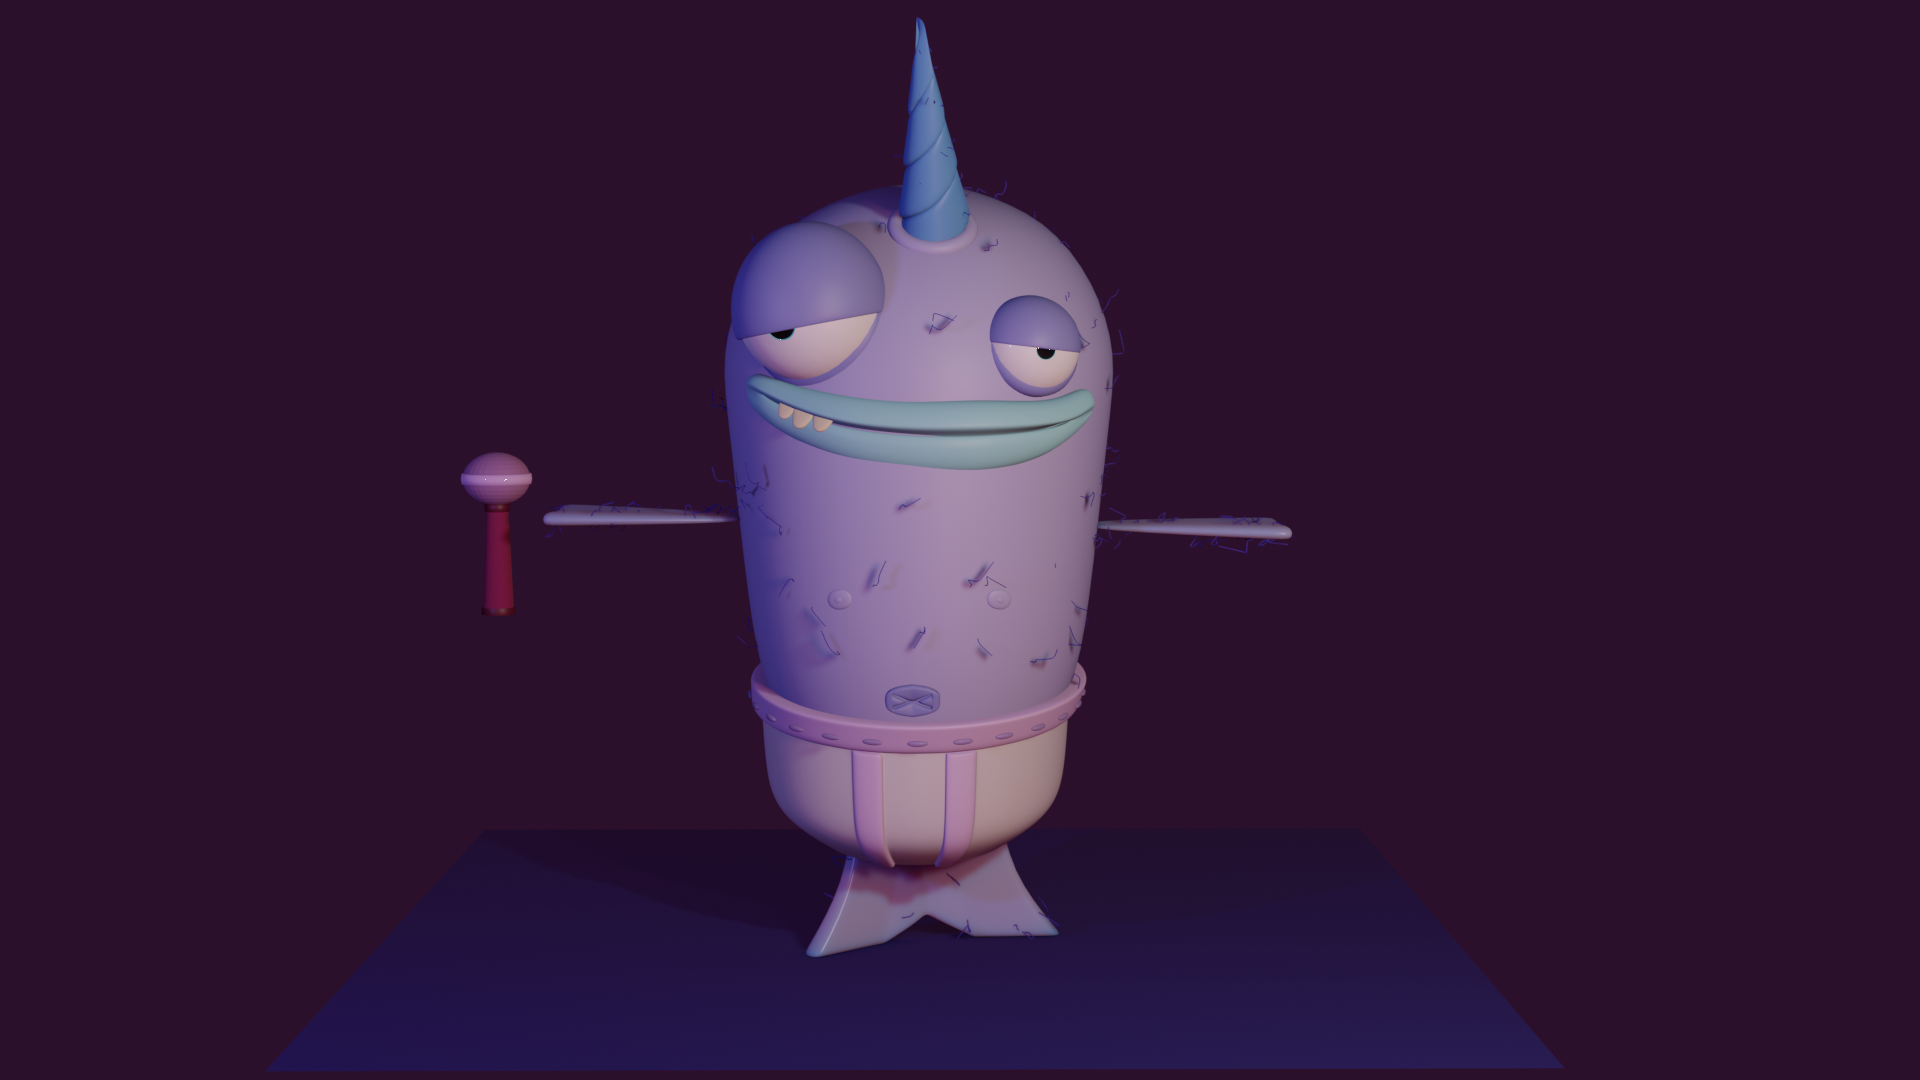
The Banana Cabana Reunion--Heeerrreee's NARWHAL!!!
Back to the Banana Cabana (AGAIN!)
Henry VS. His Demons

The Creation of Nordburt

Gregory Came To Party

Back to the Banana Cabana

A Spaceship Corridor
Well, diving into Blender 2.8 has been A LOT of fun so far! To help me adjust to the changes from the upgrade of the previous version, I decided to follow this great tutorial by Ducky 3D on creating a simple 3D environment for Beginners (that’s me!). The whole thing took me about 15 minutes to create and is a great intro to EEVEE (the new, ultra-amazing rendering engine in Blender 2.8)
I can’t take any credit for how cool this hallway looks, it’s pretty much straight from the tutorial.
Where I stopped following the tutorial is when he started talking about adding a character by going to a website and downloading it. I don’t play that. So, I’ll be updating this post soon with my own little addition(s) to the scene! Stay tuned for more coming soon!

The exterior view

Solid shaded view. All the chunky pieces are created using the Displacement Modifier.

The final render. The blocks & lines were created through nodes. A little hard to remember, I think I’ll revisit that part of the tutorial again. So now it’s time to start playing with adding my own details.

I know I wanted to close off the end of the corridor so it looked like a doorway, rather than just open. SO many glowy things!

Here’s a little preview of what I’ll be adding. :) Check back soon!
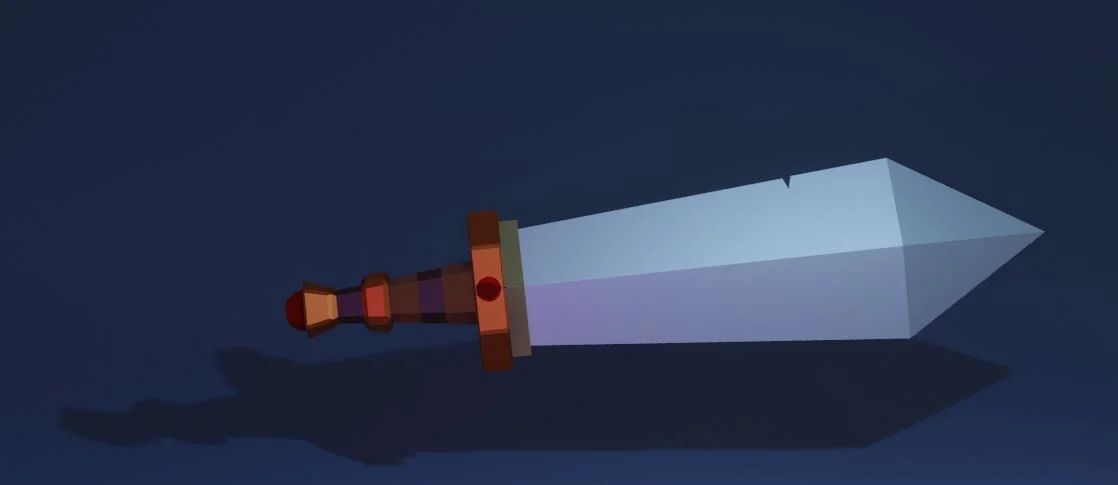
A Simple Sword
A creature named "Slop"
So…I’ve NEVER used Blender 2.8 before and I’ve NEVER attempted a character before (aside from the hand & legs sticking out from under the anvil in “The Sucker”).
What better way to experiment with Blender 2.8 than by just diving in and making something quick? I know this guy is completely built wrong but I just wanted to play.
Good gravy is Blender 2.8 ever different! It seems absolutely fantastic but there’s so much to learn over again…and I think I found a few frustrating bugs. But this was so much fun! AGAIN!!!

A creature I lovingly named “Slop”
Quick Light Bulb Tutorial
My original plan was to hop into characters AND Blender 2.8 next, but my friend, Jesse Lickman suggested I first work my way through this simple (But ever so helpful!) 2-part tutorial series by the wonderful Blender Guru.
This is the first tutorial I just followed as is & didn’t make my own creative additions to—so what you see, is what you get in this tutorial.
It introduces modeling the bulb & creating the materials, working with Bezier Curves, the Kelvin Scale, omitting certain object’s shadows from camera view, Render Layers AND an introduction to working with the Blender Compositor (among other things)! So helpful!
…So NOW onto characters & Blender 2.8!!! (…probably?)

Junk In Brad's Trunk
I’m long overdue for another 3D project! Although I was itching to get back at it, I had to step away for a month due to work—and it’s amazing (and frightening) how much I’ve forgotten in that time! I’ve fumbled along on my own, starting this new image, but I think it’s back to some basic tutorials for me!
Lesson 1 kids: STICK WITH IT!!!
So this follows my progress from the very beginning of a new scene I’ve created & shows its evolution through the stages.
I’d like to once again thank Polligon.com (and Andrew Price/Blender Guru) for use of their great textures.
Additionally, I’d like to give a shout out & sincere thanks to my great, ol’ friend Paul Stodolny for his time & wonderful advice on immensely reducing my frustratingly obscene render times. I really appreciate the help, Buddy!

Junk In Brad’s Trunk
After conducting a brief poll, the results are in which leads us to this FINAL image!!! As I suspected, the sharper version but using the chains of the atmospheric version was the winner. No weighty render times on this sucker, thanks to the wonder of Photoshop. I hope you like it!
Image 6: (The final image?) This bad boy took about 24 hours for my machine to render—that’s WITH Paul’s advice (No wonder my updates are coming so slowly!).
I wanted to play with adding a sense of atmosphere by trying out some volumetric lighting. I added 2 lamps to help make things pop & changed the material on the emeralds & rubies so they wouldn’t lose their saturation…but I unfortunately think they ended up looking like Jello here & lost the definition of their shapes.
I also wanted to give the scene a low-lying mist, so I ran a smoke simulation emanating from the floor…but aside from losing detail, I can’t say I see a defined sense of misty-smoke unfortunately. I do like the lighting on the foreground chain here.
What are your thoughts between images 5 & 6?

Final Image with volumetric lighting and a low-lying smoke for fog (Which aside from losing detals, I’m not really seeing)
Image 5: I’m really having a tough time deciding if this or Image 6 should be what I consider my final image. There are aspects I like from both. This one is crisper and reduced my render time by about 13 hours.

Final Image without volumetric lighting & fog.
Image 4 1/2: Have you every heard that ancient saying “Never let your computer render for 38 hours without first making sure your pearls aren’t floating”? Apparently neither had I.

OOPS!!!
Image 4: Now playing with putting in and manipulating some textures. Still a work in progress with lots of adjustments to make & details to add!

Image 3: Slappin’ in some mad, simple materials before I lay down some textures, yo.

Image 2 & 2b: And look what I made all by myself!!!! No help from no one.

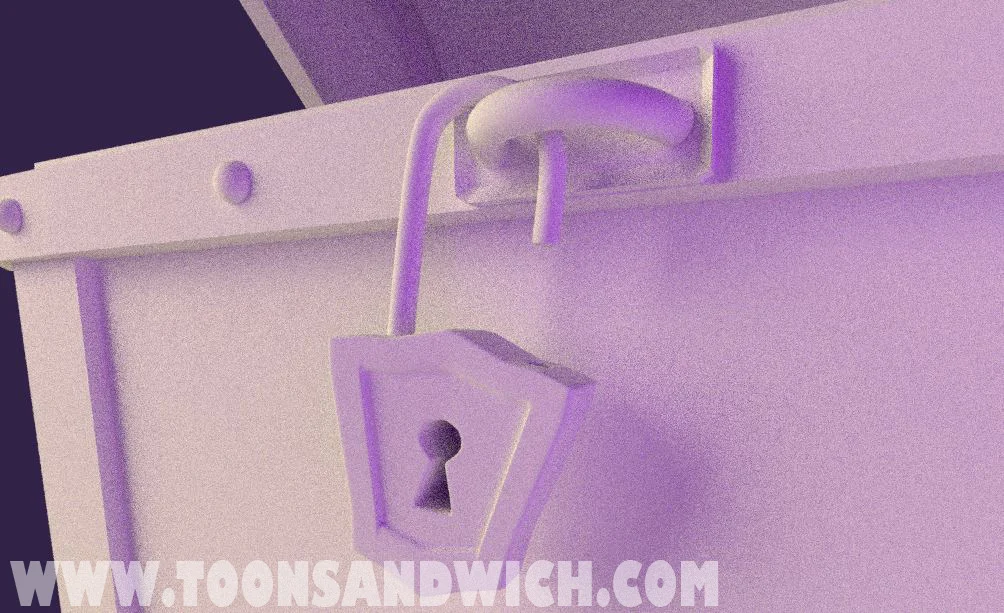
Image 1: The first render of a new scene I’m working on. Still much to do/learn! This render took my computer 3.5 hours to spit out. (that’s alotta coins!)

"The Sucker"
After completing Blender Guru’s tutorial series on creating an anvil (Click here to view the post) I had to push it a few steps further to make it my own. Lots of experimentation & trial & error to create everything in this image. I call it “The Sucker”. I hope you like it! :)

Creating an Anvil
Thanks (once again) to Blender Guru’s AMAZING tutorial series, I’ve worked my way through modeling this anvil. A lot of complex shapes and interesting ways of looking at things go into such a seemingly simple object. Thanks to this series I’ve now learned more about modeling, Booleans, optimizing topology, normal mapping, 3D sculpting and UV unwrapping!
There was also a lesson on baking normals in the last video of the series to optimize render times, but I found doing so lost some of the dented sculpting details—So I stuck with the original.
As with all of these tutorials, I won’t just leave this anvil here—but will add to them & make my own little entertaining image(s) with them as I learn more. So stay tuned for a gallery update!


